介绍
本文是一个笔记,记录了用源码安装tarsGo的过程,运行tarsGo提供的示例,多节点上运行相同服务。由于没有那么多真实服务器,这里用docker的centos:7实例来充当运行环境。
小吐槽,TarsGo生成的文件命名方式和go的习惯不同。
Docker脚本
| ip |
用途 |
| 172.17.0.2 |
MySQL |
| 172.17.0.3 |
部署Tars框架和Web,承担示例的第1个节点 |
| 172.17.0.4 |
承担示例的第2个节点 |
安装MySQL (IP:172.17.0.2)
1
|
docker run --name mysql -e MYSQL_ROOT_PASSWORD=123456 -p 3306:3306 -d mysql:5
|
安装第1台centos:7 (IP:172.17.0.3)
1
|
docker run --name centos-n1 -dt centos:7
|
安装第2台centos:7 (IP:172.17.0.4)
1
|
docker run --name centos-n2 -dt centos:7
|
为centos容器安装基本工具
用下面的命令进入centos
1
2
|
docker exec -it -u root centos-n1 bash
docker exec -it -u root centos-n2 bash
|
分别在两个容器里执行
1
2
|
yum update -y
yum install -y wget net-tools
|
安装ssh-server,tars通过ssh来安装节点
1
2
3
4
5
6
|
yum install -y openssh-server
ssh-keygen -t rsa -f /etc/ssh/ssh_host_rsa_key
ssh-keygen -t ecdsa -f /etc/ssh/ssh_host_ecdsa_key
ssh-keygen -t ed25519 -f /etc/ssh/ssh_host_ed25519_key
/usr/sbin/sshd
# 设置密码 passwd
|
重启两个服务器
1
2
3
4
5
6
7
8
|
docker restart centos-n1
docker restart centos-n2

docker exec -it -u root centos-n1 bash
/usr/sbin/sshd

docker exec -it -u root centos-n2 bash
/usr/sbin/sshd
|
在centos-n1上安装Tars框架和Web
编译
 1
 2
 3
 4
 5
 6
 7
 8
 9
10
11
12
13
14
15
16
17
18
19
20
21
22
23
24
25
26
27
28
29
30
31
32
33
34
35
36
37
38
39
40
41
42
43
44
|
# 进入centos-n1
docker exec -it centos-n1 bash

# 安装编译环境、git和mysql依赖
yum install -y glibc-devel gcc gcc-c++ bison flex make cmake git unzip

# mysql依赖,查看CMakeLists.txt文件MYSQL_DIR_INC和MYSQL_DIR_LIB,通过ln命令满足依赖
yum -y install ncurses-devel
yum -y install zlib-devel
mkdir /usr/local/mysql-5.6.26
ln -s /usr/local/mysql-5.6.26 /usr/local/mysql

cd ~
wget https://dev.mysql.com/get/Downloads/MySQL-5.6/mysql-5.6.26.tar.gz
tar -zxvf mysql-5.6.26.tar.gz
cd mysql-5.6.26
cmake . -DCMAKE_INSTALL_PREFIX=/usr/local/mysql-5.6.26 -DWITH_INNOBASE_STORAGE_ENGINE=1 -DMYSQL_USER=mysql -DDEFAULT_CHARSET=utf8 -DDEFAULT_COLLATION=utf8_general_ci
make
make install

# 下载源码
mkdir /root/tars
cd /root/tars
git clone https://github.com/TarsCloud/TarsFramework.git --recursive
cd /root/tars/TarsFramework
git checkout 1.4.0

# 编译&安装
mkdir /usr/local/tars
cd /root/tars/TarsFramework/build
chmod u+x build.sh
./build.sh prepare
./build.sh all
./build.sh install

# 下载web程序
cd ~
git clone https://github.com/TarsCloud/TarsWeb.git
mv TarsWeb /usr/local/tars/cpp/deploy/web

cd /usr/local/tars/cpp/deploy/
chmod a+x linux-install.sh
./linux-install.sh 172.17.0.2 123456 eth0 false false root 3306
source ~/.bashrc
|
管理服务
查看web管理界面
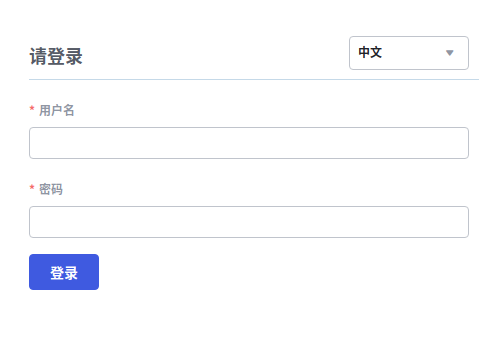
在主机浏览器输入 https://172.17.0.3:3000 可以看到如下界面
重置密码界面

登录界面
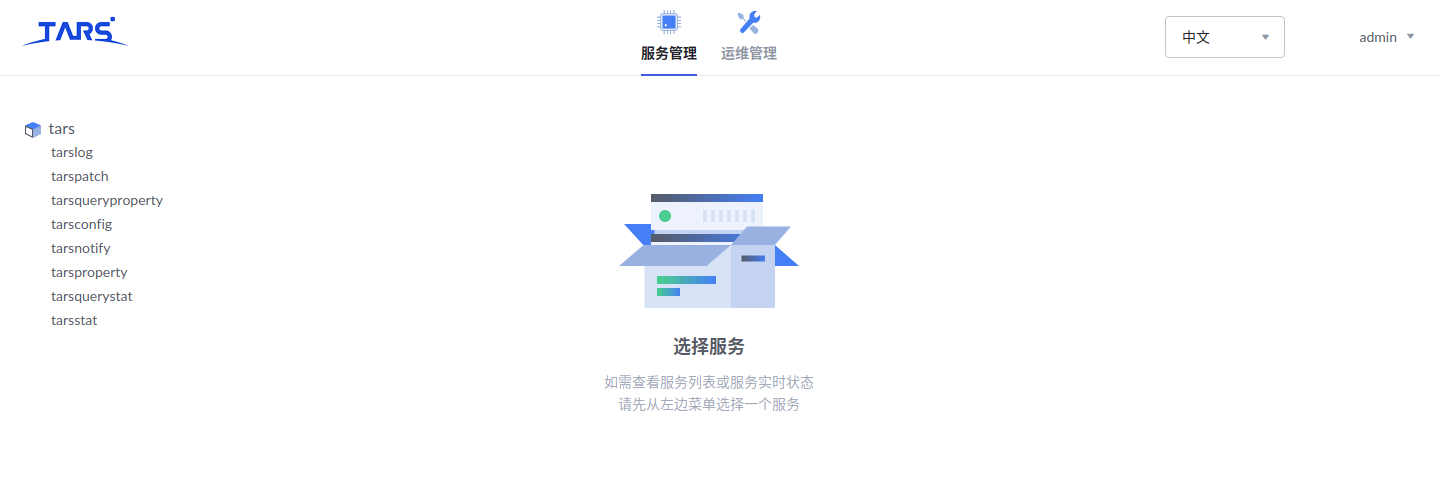
服务管理界面
运维管理界面
节点安装
在web上进入运维管理->节点管理
节点管理界面
安装节点界面
安装节点界面
或者使用脚本安装,注意里面的ip,172.17.0.3,172.17.0.4
 1
 2
 3
 4
 5
 6
 7
 8
 9
10
11
12
13
14
15
16
17
18
19
20
21
22
23
24
25
26
27
28
29
30
31
32
33
34
35
36
37
38
39
40
41
42
43
44
45
46
47
48
49
50
51
52
53
54
55
56
57
58
59
60
61
62
63
64
|
!/bin/bash
#/**
# * Tencent is pleased to support the open source community by making Tars available.
# *
# * Copyright (C) 2016THL A29 Limited, a Tencent company. All rights reserved.
# *
# * Licensed under the BSD 3-Clause License (the "License"); you may not use this file except
# * in compliance with the License. You may obtain a copy of the License at
# *
# * https://opensource.org/licenses/BSD-3-Clause
# *
# * Unless required by applicable law or agreed to in writing, software distributed
# * under the License is distributed on an "AS IS" BASIS, WITHOUT WARRANTIES OR
# * CONDITIONS OF ANY KIND, either express or implied. See the License for the
# * specific language governing permissions and limitations under the License.
# */
echo "runuser: tars, webHost:http://172.17.0.3:3000, machine_ip:172.17.0.4, registryAddress:tcp -h 172.17.0.3 -p 17890"
if [ ! -d "/usr/local/app" ]
then
    echo "create tars base path: "
    mkdir -p /data/app
    ln -s /data/app /usr/local/app
fi
mkdir -p /usr/local/app/tars
cd /tmp; rm -rf tarsnode.tgz
wget http://172.17.0.3:3000/files/tarsnode.tgz
#休息1s, 避免下载的文件没有写成功
sleep 1
if [ ! -f "tarsnode.tgz" ]
then
    echo "Tars node download error: http://172.17.0.3:3000/files/tarsnode.tgz"
    exit
fi
if [ 'tcp -h 172.17.0.3 -p 17890' == '' ]; then
    echo "registryAddress is empty."
    exit
fi
if [ '172.17.0.4' == '' ]; then
    echo "machine_ip is empty."
    exit
fi
tar zxf tarsnode.tgz
cp -rf tarsnode /usr/local/app/tars/
cd /usr/local/app/tars
echo "local machine ip:[172.17.0.4] succ"
echo "tars registry:" tcp -h 172.17.0.3 -p 17890
sed -i "s/localip.tars.com/172.17.0.4/g" /usr/local/app/tars/tarsnode/conf/tars.tarsnode.config.conf
sed -i "s/registryAddress/tcp -h 172.17.0.3 -p 17890/g" /usr/local/app/tars/tarsnode/conf/tars.tarsnode.config.conf
sed -i "s/registryAddress/tcp -h 172.17.0.3 -p 17890/g" /usr/local/app/tars/tarsnode/util/execute.sh
sed -i "s/localip.tars.com/172.17.0.4/g" /usr/local/app/tars/tarsnode/util/execute.sh
echo "install tarsnode succ, start tarsnode"
id -u tars &>/dev/null
if [ $? != 0 ]; then
    useradd tars
fi
chown -R tars:tars /usr/local/app/*;
sh /usr/local/app/tars/tarsnode/util/stop.sh
su - tars -c "sh /usr/local/app/tars/tarsnode/util/start.sh"
ps -e | grep tarsnode
if [[ `ps -e | grep tarsnode` =~ "tarsnode" ]]; then
    echo 'Tars node installed success'
else
    echo 'Tars node installed failed'
fi
|
节点冷启动
1
|
/usr/local/app/tars/tarsnode/bin/tarsnode --locator=tars.tarsregistry.QueryObj@tcp -h 172.17.0.3 -p 17890 --config=/usr/local/app/tars/tarsnode/conf/tars.tarsnode.config.conf
|
编写go服务,在开发机上进行
参考 https://tarscloud.gitbook.io/tarsdocs/rumen/hello-world-1/hello-world
服务最后会打包为HelloGo.tgz
服务部署
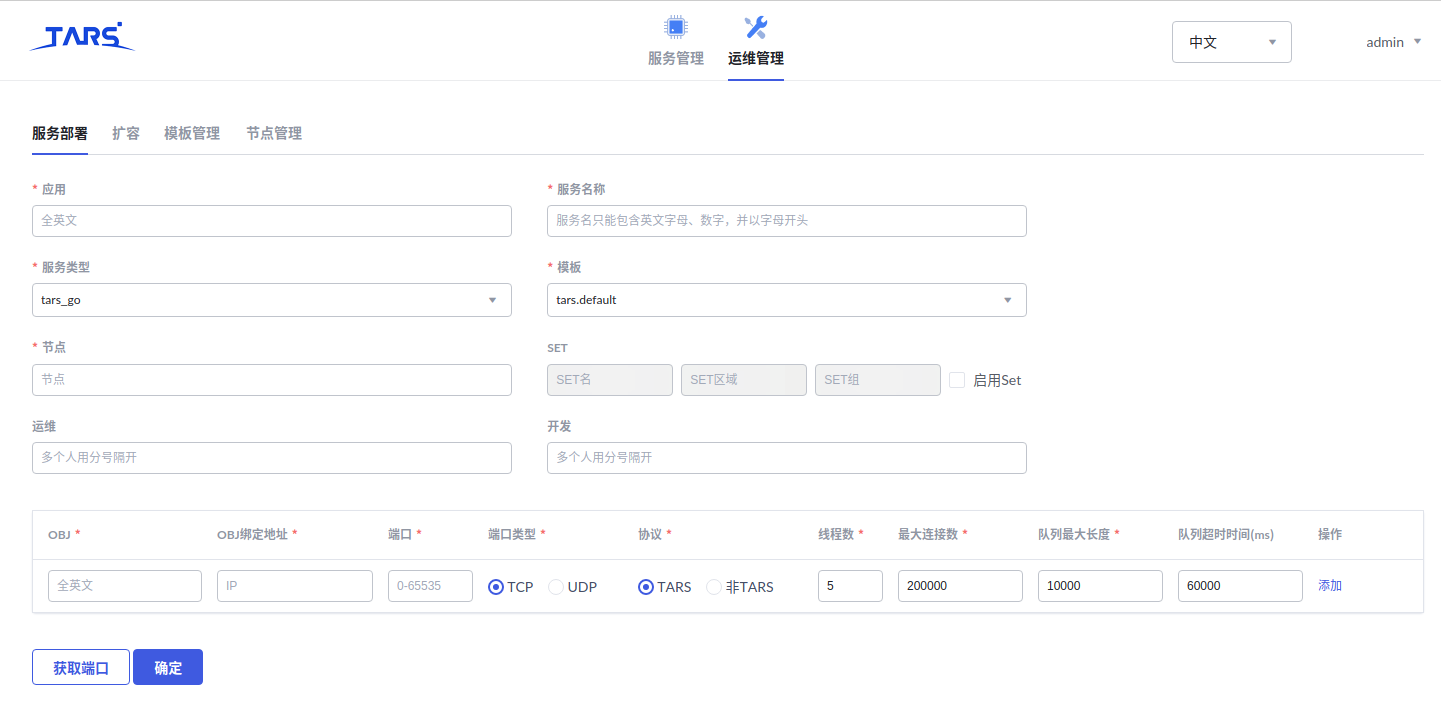
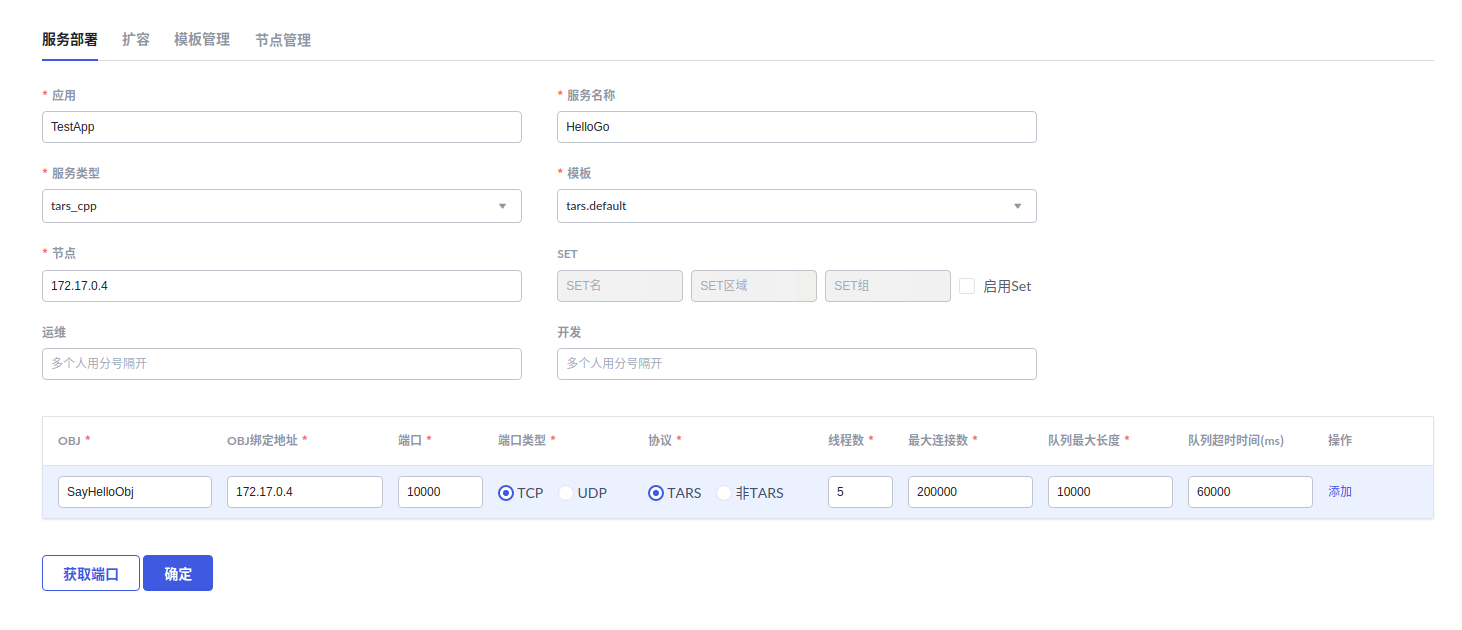
在web上进入运维管理->服务部署
服务部署界面部署172.17.0.3

服务部署界面部署172.17.0.4
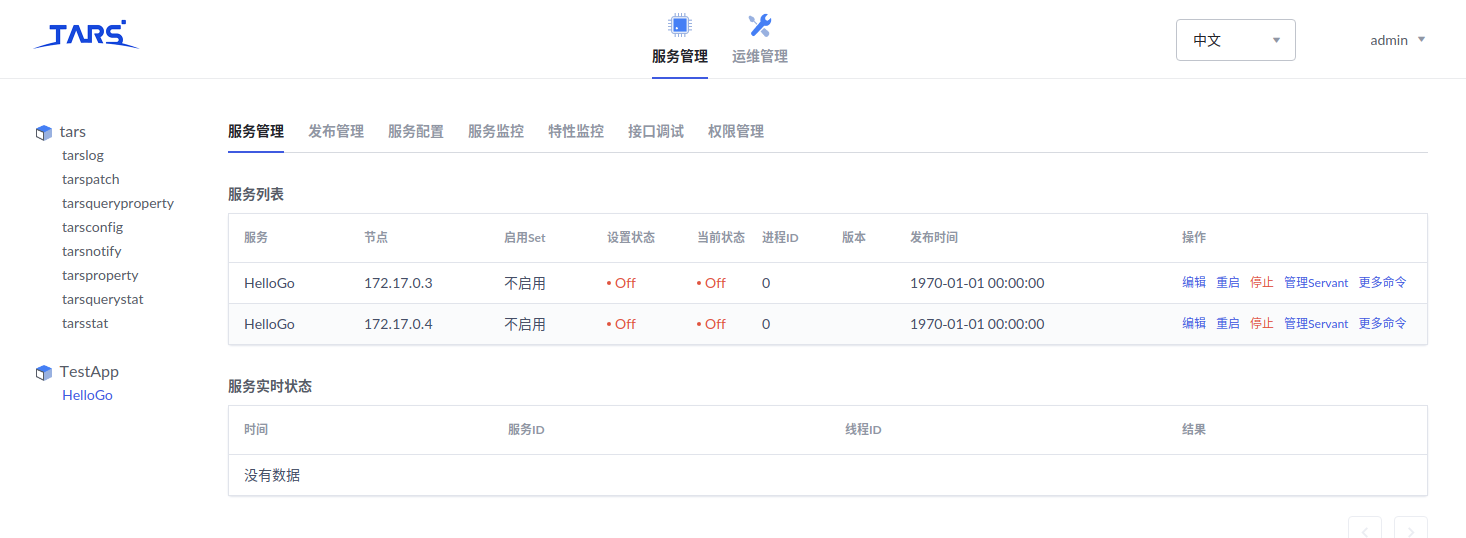
服务管理
在web上进入服务管理->TestApp->HelloGo->服务管理
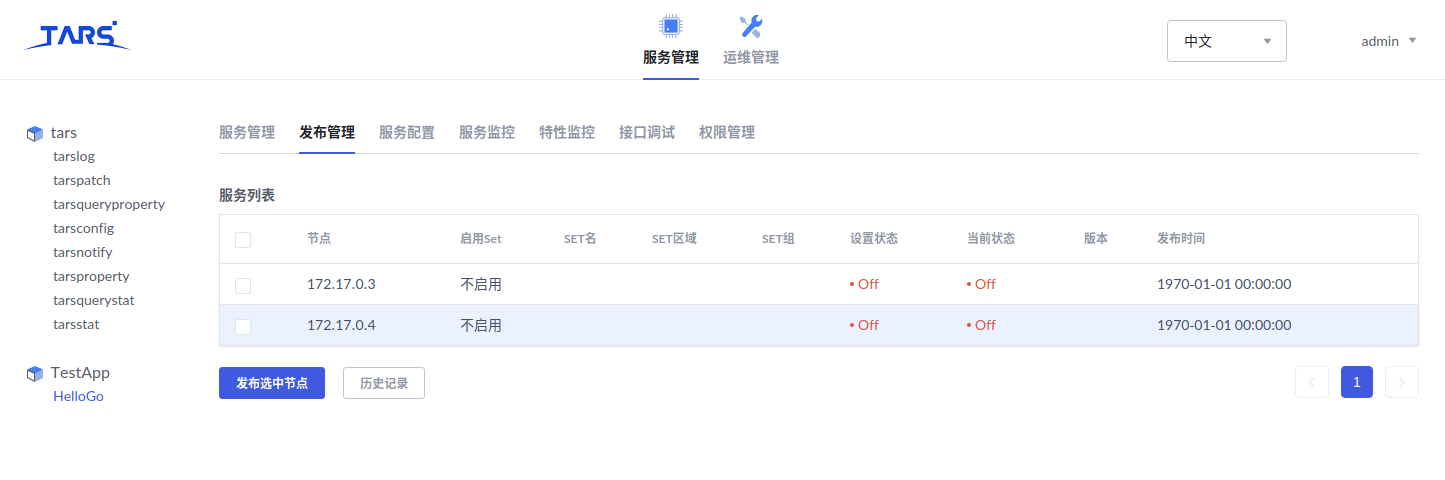
发布管理
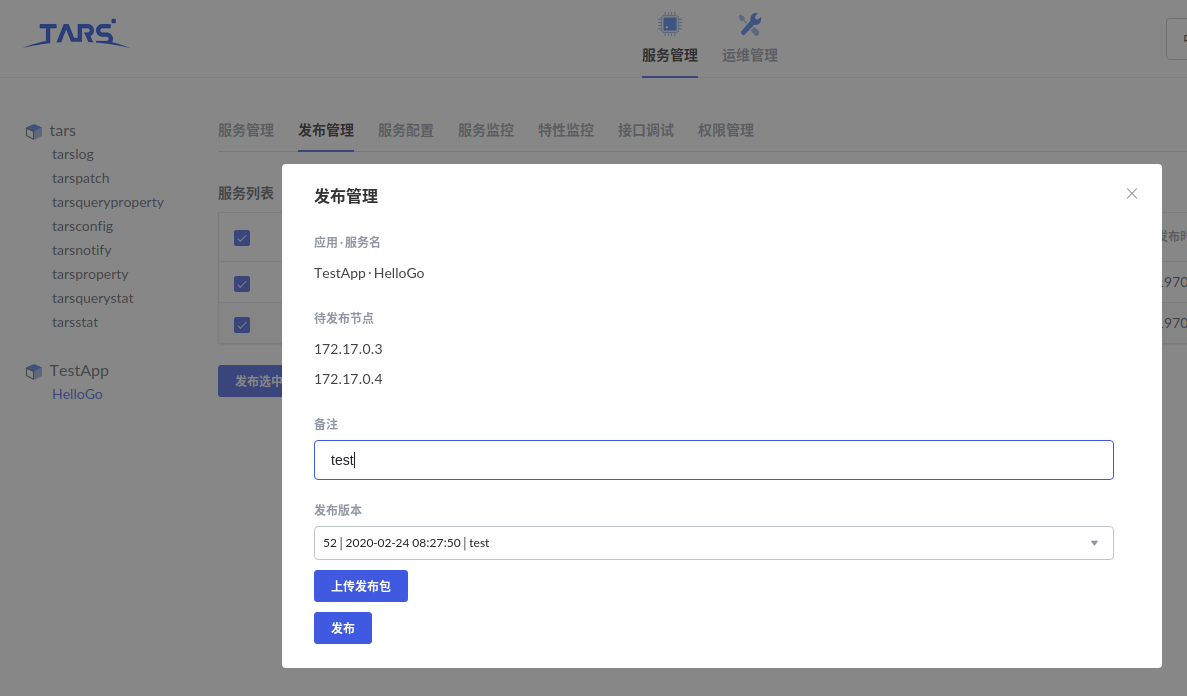
在web上进入服务管理->TestApp->HelloGo->发布管理
上传HelloGo.tgz包
服务正常运行

检测服务负载分配
修改服务代码ServantImp.go,服务端获取当前主机名Hostname,并返回给客户端
 1
 2
 3
 4
 5
 6
 7
 8
 9
10
11
12
13
14
15
16
17
18
19
20
21
|
package main

import (
	"log"
	"os"
)

// SayHelloImp SayHelloImp
type SayHelloImp struct {
}

// EchoHello EchoHello
func (imp *SayHelloImp) EchoHello(name string, greeting *string) (int32, error) {
	host, err := os.Hostname()
	if err != nil {
		log.Println(err)
	}
	*greeting = "hello " + name + ", host:" + host
	return 0, nil
}
|
修改客服端代码client.go
 1
 2
 3
 4
 5
 6
 7
 8
 9
10
11
12
13
14
15
16
17
18
19
20
21
22
23
24
25
26
27
28
29
30
31
32
33
34
|
package main

import (
	"TestApp/HelloGo/TestApp"
	"fmt"
	"log"
	"time"

	"github.com/TarsCloud/TarsGo/tars"
)

//只需初始化一次,全局的
var comm *tars.Communicator

func main() {
	comm = tars.NewCommunicator()
	obj := "TestApp.HelloGo.SayHelloObj"
	comm.SetProperty("locator", "tars.tarsregistry.QueryObj@tcp -h 172.17.0.3 -p 17890")

	app := new(TestApp.SayHello)
	comm.StringToProxy(obj, app)

	start := time.Now()
	for i := 0; i < 10; i++ {
		var resp string
		ret, err := app.EchoHello("TarsGo", &resp)
		if err != nil {
			fmt.Println(err)
			return
		}
		fmt.Println("ret: ", ret, "resp: ", resp)
	}
	log.Println(time.Now().Sub(start))
}
|
client.go结果,均匀调用两个服务
 1
 2
 3
 4
 5
 6
 7
 8
 9
10
11
12
|
$ go run client.go
ret:  0 resp:  hello TarsGo, host:61497a65548b
ret:  0 resp:  hello TarsGo, host:4f53f42bd694
ret:  0 resp:  hello TarsGo, host:61497a65548b
ret:  0 resp:  hello TarsGo, host:4f53f42bd694
ret:  0 resp:  hello TarsGo, host:61497a65548b
ret:  0 resp:  hello TarsGo, host:4f53f42bd694
ret:  0 resp:  hello TarsGo, host:61497a65548b
ret:  0 resp:  hello TarsGo, host:4f53f42bd694
ret:  0 resp:  hello TarsGo, host:61497a65548b
ret:  0 resp:  hello TarsGo, host:4f53f42bd694
2020/02/24 18:29:38 1.076416ms
|